Have you ever seen those mesmerizing nail designs that seem to glow with an ethereal gradient of colors? Those, my friend, are Aura Nails – a trend that’s taken the beauty world by storm! As someone who’s been dabbling in nail art for years, I’ve watched trends come and go, but aura nails have that timeless, magical appeal that’s hard to resist. And guess what? You don’t have to be a nail technician to achieve these dazzling looks. Let’s dive into the enchanting world of aura nails with 15 stunning ideas and tutorials to try at home or your favorite salon.
What Makes Aura Nails So Special?
Imagine tiny works of art on your fingertips that radiate vibes as unique as you. Aura Nails aren’t just designs; they’re an experience. Their beauty lies in the seamless blending of colors – gradients that mimic energy fields or moods. Think dreamy pastels, bold neons, or soothing earth tones. They’re versatile, too, fitting perfectly with a casual look or stealing the show at a fancy event.
Why Aura Nails Are Perfect for Everyone:
- Customizable: You can pick colors that match your vibe or wardrobe.
- Versatile: Subtle enough for everyday wear but bold enough for a statement.
- Fun to Create: With tools like airbrushes or sponges, the process feels artistic and rewarding.
Tools & Techniques for Stunning Aura Nails
Before we get into specific designs, let’s talk tools. Whether you’re a pro or a DIY enthusiast, you’ll need the right equipment. Here’s the lowdown:
Essentials for Aura Nails:
- Gel Nail Polish: Choose two or three complementary colors.
- Airbrush Machine (for pros): Perfect for smooth gradients.
- Sponges or Makeup Brushes: Great for DIY blending.
- UV/LED Lamp: To cure gel polish.
- Top Coat: For that glossy finish.
Pro Tips:
- Always use thin layers of polish to avoid clumping.
- Blend colors while they’re still wet for a seamless gradient.
- Cure each layer under the UV lamp to lock in the design.
Read Also: 14 Floral Nails to Blossom Your Style
Read Also: 15 Stunning Spring Nails Design Ideas to Bloom Into the Season
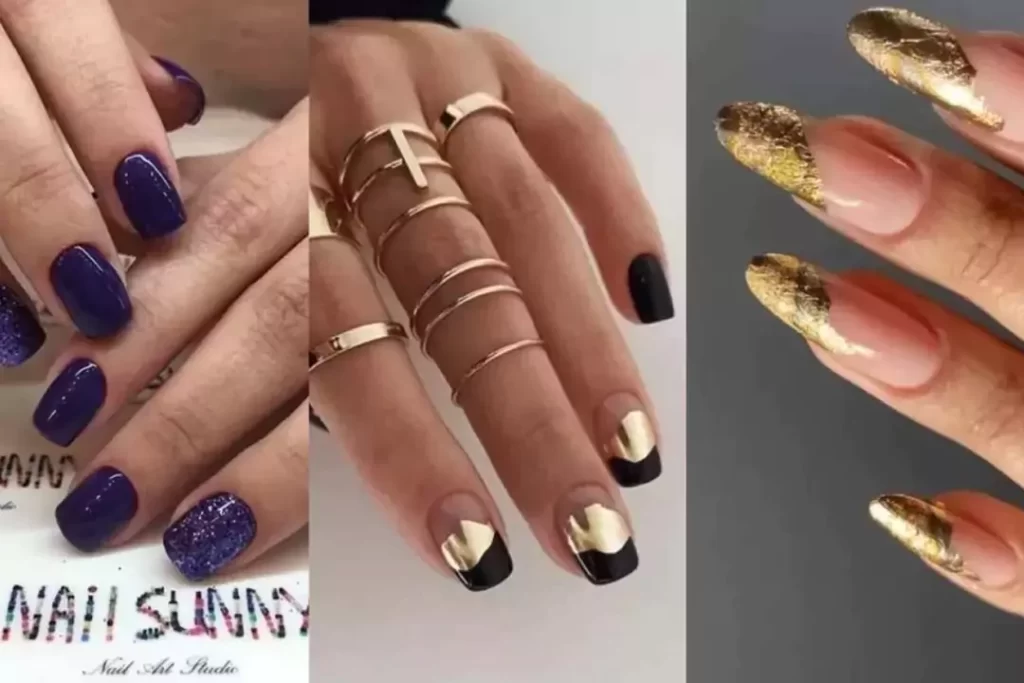
15 Stunning Aura Nail Ideas You Need to Try
Here’s where the magic happens! Below are 15 dazzling aura nail ideas with step-by-step tutorials for some popular designs.
1. Pastel Rainbow Aura

Soft pinks, blues, and yellows come together in this dreamy look. This design is perfect for spring or any time you want a subtle, uplifting vibe.
- Start with a clear base coat to protect your nails and create a smooth surface.
- Apply pastel pink to the center of each nail, making it the focal point.
- Use a sponge to dab pastel blue and yellow outward from the center, creating a soft gradient effect.
- Cure under the UV lamp to set the design, then finish with a glossy top coat for a polished look. Pro Tip: Add a hint of shimmer for an extra magical touch.
2. Neon Glow

Turn heads with vibrant, electric colors. This bold design is great for parties or a night out.
- Apply a bright pink base coat as your starting color.
- Use an airbrush to softly add neon yellow around the edges, creating a glowing halo effect.
- Gently blend the colors with a fine brush to avoid harsh lines.
- Cure and apply a top coat for an intense, glassy shine. Pro Tip: Pair this design with a blacklight for an even more striking look!
3. Galaxy-Inspired Aura Nails

Channel your inner stargazer with deep blues, purples, and glitter. This design is perfect for anyone who loves celestial aesthetics.
- Paint a navy blue base coat to mimic the night sky.
- Use a sponge to blend purple and black gradients at the edges, giving depth and mystery.
- Sprinkle fine silver glitter across the nails to resemble stars.
- Seal with a glossy top coat for a sleek finish. Pro Tip: Add a tiny moon or constellation decal for extra charm.
4. Sunset Ombre Aura

Capture the beauty of golden hour on your nails. This design is warm, inviting, and ideal for summer.
- Use a pale yellow base coat to represent the sun’s glow.
- Blend orange and pink toward the center using a sponge, creating a soft ombre.
- Add a hint of shimmer or gold flakes for a radiant effect.
- Cure and finish with a top coat. Pro Tip: Pair this design with beachwear for a complete look.
5. Frosty Winter Aura

Perfect for the chilly season, this design features icy blues and silvers. Great for winter holidays or when you’re channeling Frozen vibes.
- Apply a silver base coat for a frosty foundation.
- Add blue gradients outward with a sponge, keeping the center lighter for a glowing effect.
- Sprinkle white glitter or use a snowflake stencil for added detail.
- Seal with a clear top coat. Pro Tip: Pair with a matte finish for a frosted look.
6. Earthy Tones Aura Nails

Bring nature to your nails with greens, browns, and subtle gold accents. This design is calming and grounded.
- Start with a beige or light brown base coat.
- Blend green gradients outward using a sponge for a lush effect.
- Add hints of gold using a fine brush or foil.
- Cure and finish with a glossy or matte top coat. Pro Tip: Perfect for outdoor events or eco-themed outfits.
7. Romantic Rose Glow

Pinks and reds blended with soft whites create a timeless, romantic look.
- Apply a soft pink base coat.
- Use a sponge to blend red around the edges and white toward the center.
- Add a subtle glitter overlay for extra sparkle.
- Cure and finish with a top coat. Pro Tip: Ideal for date nights or weddings.
8. Midnight Mystery

Dark purples and blacks with hints of silver or gold create a moody, elegant vibe.
- Use a black base coat for drama.
- Blend dark purple gradients toward the center using a sponge.
- Add metallic accents with silver or gold foil.
- Seal with a glossy top coat. Pro Tip: Perfect for evening wear or a gothic-inspired look.
9. Golden Hour

Shades of gold, amber, and bronze create a warm, luxurious feel.
- Apply a metallic gold base coat.
- Blend amber and bronze gradients outward using a sponge.
- Add subtle glitter or foil for added dimension.
- Cure and finish with a glossy top coat. Pro Tip: Best paired with formal or festive outfits.
10. Ocean Breeze

Turquoise, aqua, and sandy beige evoke beach vibes and relaxation.
- Start with a turquoise base coat.
- Blend aqua and beige gradients outward using a sponge.
- Add tiny shell or wave decals for extra flair.
- Seal with a top coat. Pro Tip: Ideal for vacations or summer outings.
11. Mystic Lavender

Purples and lilacs with shimmers create a dreamy, mystical aura.
- Apply a lavender base coat.
- Blend darker purples outward for depth.
- Add a shimmering overlay for an enchanted look.
- Cure and finish with a glossy top coat. Pro Tip: Great for spring or whimsical themes.
12. Flame Aura

Reds, oranges, and yellows with a fiery edge make this design bold and energetic.
- Use a bright red base coat.
- Blend orange and yellow gradients outward for a flame-like effect.
- Add subtle glitter for extra drama.
- Seal with a glossy top coat. Pro Tip: Perfect for bold personalities or themed parties.
13. Zen Greens

Multiple shades of green create a calming effect that’s perfect for relaxation.
- Start with a pale green base coat.
- Blend darker greens outward using a sponge.
- Add subtle accents with metallic green foil.
- Cure and finish with a matte top coat. Pro Tip: Ideal for spa days or nature lovers.
14. Bold Monochromes

Contrasting black and white gradients create a striking, modern look.
- Use a white base coat.
- Blend black gradients outward for contrast.
- Add geometric designs or decals for added flair.
- Seal with a glossy top coat. Pro Tip: Perfect for minimalist or high-fashion styles.
15. Minimalistic Aura

Subtle nude tones with soft white or beige accents create an understated, elegant vibe.
- Apply a nude base coat.
- Blend white or beige gradients outward for a soft look.
- Add a subtle shimmer or tiny gems for detail.
- Seal with a matte or glossy top coat. Pro Tip: Perfect for work or everyday wear.
Troubleshooting Common Mistakes
Creating aura nails isn’t always smooth sailing, but don’t worry – here’s how to fix common issues:
- Uneven Gradients: Use a damp sponge to blend colors more effectively.
- Clumpy Polish: Always use thin layers and cure each one properly.
- Colors Not Popping: Start with a white base coat to make colors more vibrant.
Nail Care Tips for Long-Lasting Aura Nails
Aura nails are gorgeous, but they need care to stay that way:
- Avoid harsh chemicals that can dull the finish.
- Use cuticle oil daily to keep your nails hydrated.
- Reapply a top coat every few days for added shine and protection.
Conclusion
Aura Nails are more than just a trend; they’re a way to express your personality and style. With these 15 beautiful designs, you’re all set to create magic on your nails. Whether you’re a seasoned nail artist or a curious beginner, these ideas are sure to spark your creativity. So, grab your tools, pick your colors, and let your nails do the talking! Which design are you trying first? Let me know in the comments – I’d love to hear your thoughts!
You May Also Like: 40 Best Acrylic Nails Art Designs