Valentine’s Day isn’t just about chocolates and flowers; it’s about expressing your love, creativity, and individuality. And what better way to do that than with stunning valentines nails? With years of experience experimenting with nail art, and drawing inspiration from top nail magazines and renowned technicians, I’ve gathered designs that’ll make your nails the star of your special day. Whether you’re a DIY enthusiast or just looking for salon-worthy ideas, this guide is for you.
Let’s dive into 15 breathtaking valentines nails designs that will steal your heart. Spoiler alert: some of these are so easy, that even beginners can nail them!
Why Valentines Nails?
Your nails say a lot about you. On Valentine’s Day, they’re like tiny canvases, reflecting love, romance, and even playfulness. From bold reds to delicate pastels, these designs can match your outfit, mood, or even your favorite shade of lipstick.
Nail trends are evolving fast, and Valentine’s Day designs are no exception. Think metallics, abstract art, and 3D embellishments — there’s something for everyone. Let’s explore some trending ideas and how to achieve them effortlessly.
Tools You’ll Need
Before we jump into the designs, let’s talk tools. Here’s what you’ll need to create perfect valentines nails:
- Nail files and buffers are used to prep the nail surface.
- Base and top coats for durability and shine.
- Nail polish colors: reds, pinks, whites, and metallics are must-haves.
- Detailing tools: dotting pens, fine brushes, or toothpicks for precision.
- Stickers or decals for intricate designs without the hassle.
- Glitter or rhinestones for that extra glam.
15 Valentines Nails Ideas For You!
1. Classic Red with Glitter Accents

You can never go wrong with a bold red. Add glitter to one or two accent nails for a dazzling touch.
Step-by-Step:
- Apply a base coat to protect your nails.
- Paint all nails with a vibrant red polish.
- Use a glitter polish on your ring and middle fingers to create a statement.
- Seal it with a glossy top coat for a long-lasting finish.
Why It Works: This timeless design exudes confidence and passion, perfect for Valentine’s Day.
2. Soft Pink Ombre

Perfect for those who adore subtlety. This gradient from light pink to white screams romance.
Step-by-Step:
- Paint your nails with a light pink base.
- Use a makeup sponge to blend white polish into the tips, creating a smooth gradient.
- Finish with a sheer glitter top coat for a dreamy touch.
Why It Works: The ombre effect adds depth and elegance, making it versatile for any outfit.
3. Heart Tips Valentines nails

Give your French tips a Valentine’s twist with heart shapes.
Step-by-Step:
- Paint your nails with a clear or nude base.
- Use a small brush to draw heart shapes on the tips in red or pink.
- Fill the hearts and add a glossy top coat to complete the look.
Why It Works: This playful design adds a romantic flair to the classic French manicure.
4. Floral Valentines nails

Flowers aren’t just for bouquets! Paint roses and petals for a dreamy look.
Step-by-Step:
- Start with a white or light pink base.
- Use a thin brush to paint roses with red and green polishes.
- Add fine details like leaves or vines for a realistic effect.
Why It Works: Floral designs are feminine and timeless, making them ideal for a romantic vibe.
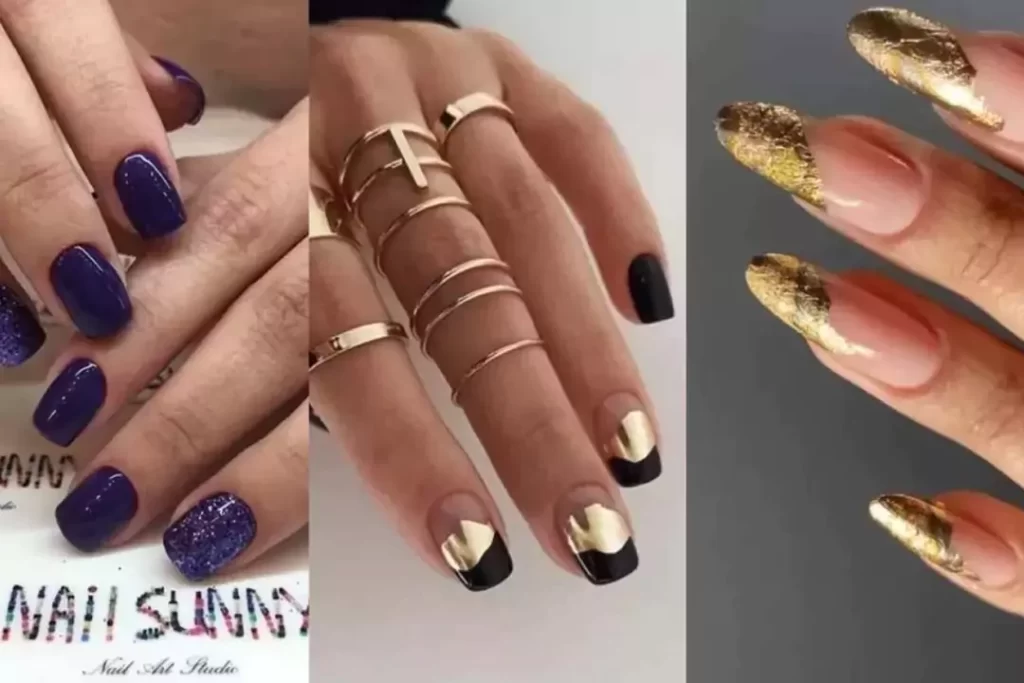
5. Metallic Love

Want something modern? Metallic shades like gold and silver can add an edgy vibe to your Valentine’s nails.
Step-by-Step:
- Paint all nails with a metallic polish.
- Add a small red heart decal to the center of each nail.
- Seal with a high-shine top coat for a polished finish.
Why It Works: The metallic sheen adds a futuristic touch while keeping the Valentine’s theme alive.
6. Lace-Inspired Designs

Lace nails exude elegance and sophistication.
Step-by-Step:
- Apply a nude base color to create a soft backdrop.
- Use a stencil or freehand intricate lace patterns with white polish.
- Add fine glitter for extra charm and dimension.
Why It Works: Lace patterns are delicate and classy, perfect for formal occasions.
7. Love Letters

Turn your nails into tiny love notes with calligraphy.
Step-by-Step:
- Use a white or light pastel base to mimic paper.
- With a thin brush or pen, write love words like “Love” or “Be Mine.”
- Highlight with small hearts or dots for extra flair.
Why It Works: This creative design is both personal and eye-catching, making it a conversation starter.
8. Chocolate Drips

For all the chocolate lovers out there!
Step-by-Step:
- Start with a light brown or nude base.
- Use a darker brown polish to create drip effects at the nail tips.
- Add a glossy top coat to mimic melted chocolate.
Why It Works: This sweet design is playful and unique, perfect for Valentine’s Day.
9. Minimalist Hearts

Simple yet chic. Perfect for those who prefer understated designs.
Step-by-Step:
- Apply a clear or nude polish for a clean look.
- Paint a tiny heart on each nail using a dotting tool.
- Finish with a matte top coat for a modern touch.
Why It Works: Minimalism never goes out of style, and this design is easy to achieve.
10. Cupid’s Arrows

Arrows and hearts make a playful combo.
Step-by-Step:
- Paint your nails with a soft pink base.
- Use a fine brush to draw arrows and hearts in black or red polish.
- Add glitter accents for sparkle.
Why It Works: This design combines romance and fun, making it perfect for any Valentine’s event.
11. Glitter Gradient

A sparkling take on ombre nails.
Step-by-Step:
- Apply a nude or light pink base.
- Use a sponge to apply glitter polish from the tips downward.
- Blend for a seamless gradient effect.
Why It Works: The sparkle adds glamour, ideal for a night out.
12. Polka Dot Hearts

Playful and fun for any age.
Step-by-Step:
- Paint your nails with a light pink or white base.
- Use a dotting tool to create heart shapes with red or pink polish.
- Add dots around the hearts for extra charm.
Why It Works: This whimsical design is cheerful and easy to create.
13. Gemstone Accents

Add a touch of luxury with rhinestones or gems.
Step-by-Step:
- Paint your nails with a solid color base.
- Use nail glue to attach small gems in heart or cluster patterns.
- Seal with a top coat to secure the decorations.
Why It Works: This opulent design is perfect for special celebrations.
14. Abstract Love

Get creative with abstract art and love symbols.
Step-by-Step:
- Apply a neutral base.
- Use a fine brush to paint abstract shapes, hearts, and swirls.
- Add metallic accents for depth.
Why It Works: Abstract designs are unique and allow for personal expression.
15. Velvet Nails

A luxurious trend that’s all the rage.
Step-by-Step:
- Use a velvet-effect nail polish in red or pink.
- Apply two coats for a rich texture.
- Add a glossy top coat for added shine.
Why It Works: The texture adds dimension and a unique twist to classic designs.
Common Mistakes and How to Fix Them
- Messy edges: Use a cleanup brush dipped in acetone to fix smudges.
- Bubbles in polish: Always let each layer dry before applying the next.
- Chipped designs: Seal your art with a quality top coat.
Wrapping Up
Your Valentine nails are more than just a style statement — they’re a way to celebrate love and creativity. Whether you’re planning a cozy night in or a romantic dinner, these designs will make you feel special. So, grab your tools and get started!
P.S. Don’t forget to share pictures of your nail art in the comments. We’d love to see your creations!
You May Like: 60+ Spring Nail Designs