Ombre nails have taken the beauty world by storm, and for good reason! This gorgeous gradient effect blends two or more colors seamlessly, creating a chic, eye-catching look that suits any occasion. Whether you’re a nail art newbie or a seasoned pro, ombre nails offer endless possibilities—from soft, romantic blends to bold, edgy fades.
As someone who’s experimented with countless nail designs (and made plenty of mistakes along the way!), I can confidently say that ombre nails are one of the most versatile styles out there. They work on any nail shape, length, and skin tone, making them a go-to for anyone wanting a polished yet creative manicure. Plus, with the right techniques—which I’ll break down for you—you can even achieve salon-worthy results at home.
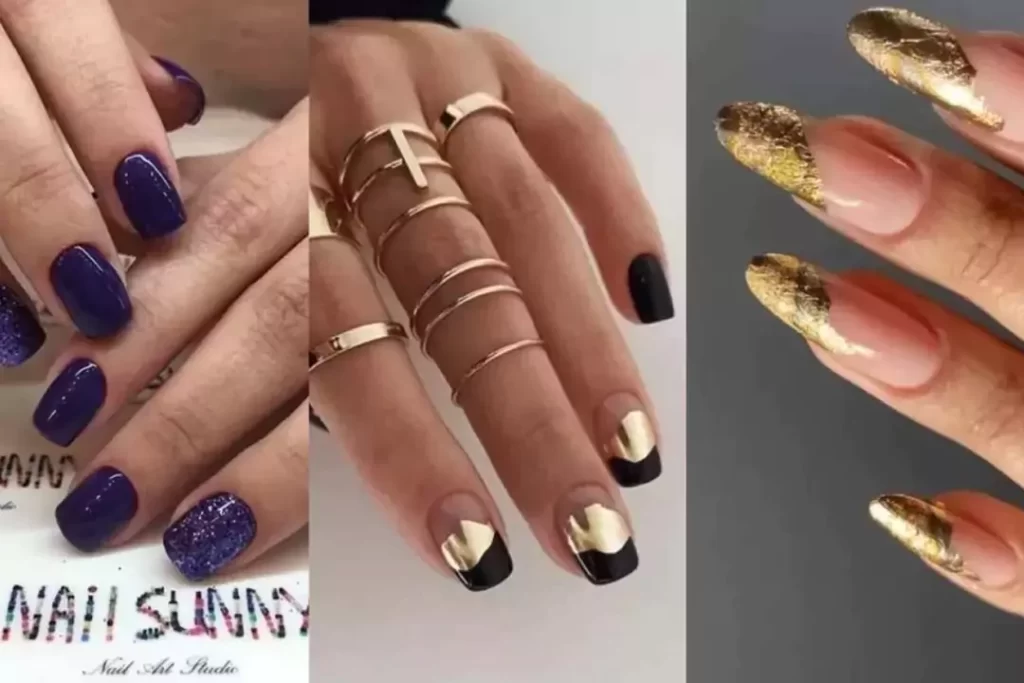
Ready to dive into the world of ombre nails? Let’s explore 10 stunning ombre nail ideas, complete with step-by-step guides, expert tips, and troubleshooting advice to help you nail the look every time.
1. Classic Pink & White Ombre Nail
Why You’ll Love It: Soft, elegant, and timeless—this is the ultimate bridal or everyday manicure. The gentle fade from blush pink to crisp white gives a clean, feminine touch that pairs well with any outfit.
How to Achieve It:
- Prep Your Nails – File into your desired shape (almond or oval works best for this delicate look) and apply a base coat.
- Paint the Base – Apply a light pink polish as your base color and let it dry completely.
- Gradient Technique – Using a makeup sponge, dab white polish at the tips and lightly blend upward. Repeat until the transition looks smooth.
- Clean Up – Use a small brush dipped in acetone to tidy the edges.
- Seal It – Finish with a glossy top coat for a polished shine.
Pro Tip: If the blend looks streaky, try using a slightly damp sponge for a softer fade.
Common Mistake: Applying too much polish on the sponge can create a messy, uneven fade. Less is more—build the color gradually.
2. Bold Red to Black Ombre Nail
Why You’ll Love It: This fierce combo screams confidence, perfect for a night out or when you want to make a statement. The deep transition from fiery red to sultry black adds drama without being over the top.
How to Achieve It:
- Base Coat – Start with a clear base to protect your nails.
- First Layer – Paint the entire nail red and let it dry.
- Sponge Gradient – Dab black polish onto the tips using a sponge, blending upward for a smoky effect.
- Matte Option – For an edgier finish, skip the glossy top coat and use a matte sealer instead.
Expert Insight: Nail artists often recommend using a lip brush for more precise blending if the sponge method feels tricky.
Common Mistake: Black polish can stain nails—always use a base coat to prevent discoloration.
3. Pastel Rainbow Ombre Nail
Why You’ll Love It: Playful and dreamy, this multicolor fade is like a sunset on your fingertips. Ideal for spring or festival season!
How to Do It:
- Choose 3-4 pastel shades (lavender, mint, baby blue, and soft pink work beautifully).
- Apply each color in sections on a sponge, then press onto nails at an angle for a diagonal fade.
- Clean excess polish around the cuticles with a brush dipped in acetone.
Troubleshooting: If colors mix too much, let each layer dry slightly before sponging the next.
4. Glitter Ombre Nail
Why You’ll Love It: Nothing catches the light quite like glitter ombre nails! This dazzling design transitions from a solid base color to a sparkling fade, perfect for parties, holidays, or whenever you want extra glam. The best part? It hides minor imperfections in your blending technique.
How to Achieve It:
- Start with a dark base color (navy, black, or deep purple works best to make glitter pop).
- Apply glitter polish using the “sponge method”:
- Paint stripes of glitter polish on a makeup sponge
- Dab gently from the nail tip upward, leaving the base darker
- For maximum sparkle, try layering:
- Fine glitter near the cuticles
- Chunky glitter at the tips
- Seal with h thick top coat to smooth out the texture
Pro Tip: Use a fan brush to remove excess glitter from the skin before it dries.
Common Mistake: Applying glitter too thickly can create lumpy nails. Build up thin layers instead.
5. Neutral Nude Ombre Nail
Why You’ll Love It: The “my nails but better” look! Nude ombre creates an elongating effect that makes fingers look instantly more elegant. Ideal for job interviews or when you want polished-but-subtle nails.
How to Achieve It:
- Choose two nude shades (one slightly lighter than your skin tone, one darker)
- Use the “brush blending” technique:
- Paint the lighter shade on the entire nail
- While still wet, apply the darker shade to the tips
- Quickly blend with a clean brush in upward strokes
- Add sheer pink gloss between layers for natural depth
Skin Tone Matching Guide:
- Fair skin: Ballet pink to beige
- Medium: Peach to caramel
- Deep: Mocha to espresso
Common Mistake: Going too dark can make nails look dirty. When in doubt, go slightly lighter.
6. Dark Blue to Silver Ombre Nails
Why You’ll Love It: Like moonlight on ocean waves, this cool-toned combo is unexpectedly versatile. The metallic silver keeps it from feeling too dark, making it appropriate for both office and evening wear.
How to Achieve It:
- Apply navy blue base (2 coats for opacity)
- Create the gradient using metallic silver polish:
- Option 1: Sponge method for soft fade
- Option 2: “Dripping metal” effect by painting silver in uneven streaks
- Elevate it with:
- One accent nail in solid silver
- Tiny rhinestones at the transition line
Pro Tip: Store your silver polish upside-down—metallics separate and need extra shaking!
7. Purple to Pink Ombre Nails
Why You’ll Love It: This vibrant combo channels unicorn magic and 80s retro vibes simultaneously. Amazing for music festivals or when you need a mood boost!
Step-by-Step:
- The color-blocking approach works best:
- Paint purple on the lower half of the nail
- Paint pink on the upper half
- While wet, use a small eyeshadow brush to blend the center
- For neon versions:
- Apply white base first
- Use UV-reactive polishes
- Take it up a notch with:
- Glow-in-the-dark top coat
- Chrome powder at the tips
Common Mistake: Neon polishes often stain. Always use a stain-preventing base coat with bright colors.
8. Green Ombre Nails (Mint to Emerald)
Why You’ll Love It: Nature-inspired yet sophisticated, this gradient mimics lush jungle leaves. Particularly stunning on medium to deep skin tones.
Application Tricks:
- For smooth blends:
- Start with mint on the entire nail
- Sponge emerald just at the tips
- Add a mid-tone sage in between if needed
- Textured version:
- Matte top coat on mint
- Glossy on emerald tips
Seasonal Twist:
- Spring: Add tiny daisy decals
- Winter: Mix in gold flakie polish
9. Sunset Ombre Nails (Orange, Yellow, Pink)
Why You’ll Love It: Instant vacation vibes! This warm gradient mimics tropical sunsets and looks especially flattering with tanned skin.
Pro Application Method:
- Paint nails sheer white as a base
- Use a flat eyeshadow brush to:
- Stroke pink near cuticles
- Blend the orange in the middle
- Tap the yellow at the tips
- Sunset extras:
- Silhouette decals (palm trees, birds)
- Orange-to-pink glitter gradient
Common Mistake: Yellow polish often appears streaky. Apply over pale pink instead of white for better coverage.
10. Black to Gray Ombre Nails
Why You’ll Love It: The ultimate chic gothic look that’s office-appropriate when done right. The gray softens the black for a smoky, mysterious effect.
Expert Techniques:
- “Smudged” version:
- Apply black polish
- Immediately dab gray on tips with a dry brush for a diffused edge
- Graphic version:
- The sharp diagonal line between colors
- Outline with metallic silver
Modern Twist:
- Replace gray with gunmetal for an edgier look
- Add a single red accent nail for dramatic contrast
Ombre Nails Maintenance & Longevity Tips
Make your masterpiece last with these pro secrets:
- The 3-Day Cure:
- Avoid hot water for 48 hours after application
- Wear gloves when washing dishes
- Touch-Up Trick:
- Use a small eyeshadow brush dipped in polish to refresh faded tips
- Removal Hack:
- Soak cotton in acetone, and wrap in foil for 5 minutes
- Gently push off the polish with an orange stick (no scraping!)
Conclusion
From barely-there nudes to rainbow explosions, ombre nails offer endless creativity. Remember:
✔ Perfect blending takes practice—don’t get discouraged!
✔ Always cap the free edge with a top coat to prevent chipping
✔ Have fun mixing unexpected color combos
Which design speaks to you? Try one tonight and tag your creations!
FAQs
Q: Can ombre be done on short nails?
A: Absolutely! Keep the gradient shorter (just at the tips) and avoid dark colors if you want nails to appear longer.
Q: What’s the difference between ombre and gradient nails?
A: Ombre specifically means a color fade, while gradient can refer to any gradual change (like glitter density).
Q: How to fix a smudged ombre?
A: Dab a tiny bit of acetone on a brush to re-blend, then reapply top coat.
Final Thoughts
Ombre nails are a fantastic way to express your style, whether you prefer subtle elegance or bold artistry. With these 10-ombre nail ideas, you’ve got endless inspiration to play with. The key? Practice, patience, and having fun with it!
Which design will you try first? Drop your favorites in the comments—I’d love to see your creations!