Gradient nails, also known as ombre nails, have taken the beauty world by storm—and for good reason! This mesmerizing nail art technique blends colors seamlessly, creating a soft fade or bold transition that looks effortlessly chic. Whether you’re a nail art newbie or a seasoned pro, gradient nails offer endless possibilities, from subtle pastels to electrifying neons.
With over five years of experience in nail artistry, I’ve experimented with countless techniques, from sponge blending to glitter gradients. In this guide, I’ll walk you through 10 breathtaking gradient nail ideas, complete with step-by-step tutorials, expert tips, and troubleshooting advice. Plus, I’ll reference trusted sources like Nails Magazine and celebrity nail artists to ensure you get salon-worthy results at home.
Ready to dive in? Let’s transform your nails into miniature masterpieces!
1. Classic Two-Tone Gradient
The classic two-tone gradient is the perfect starting point for beginners. It uses just two complementary shades, creating a smooth transition that’s both simple and sophisticated. Think soft pink fading into white or navy blue melting into silver.
How to Achieve It:
- Prep Your Nails – File, buff, and apply a clear base coat.
- Paint the Base – Apply the lighter shade as your base color and let it dry.
- Sponge Blending – Dab the darker polish onto a makeup sponge, then gently press it onto the tips, moving downward for a faded effect.
- Seal the Deal – Finish with a glossy top coat for a seamless blend.
Pro Tip: If the colors look streaky, lightly dab a clean sponge over the nails while the polish is still wet to soften the transition.
Common Mistake: Using too much polish on the sponge can create a gloopy mess. Instead, apply thin layers and build up the intensity gradually.
2. Pastel Ombre Nails
If you love soft, ethereal vibes, pastel gradient nails are your go-to. Shades like lavender, mint green, and baby pink blend beautifully for a whimsical look that’s perfect for spring, weddings, or everyday wear.
Step-by-Step Guide:
- Start with a sheer nude or white base to make pastels pop.
- Use a damp sponge to blend two or three pastel shades, working from lightest to darkest.
- For extra dimension, add a pearl or iridescent top coat.
Expert Insight: According to Allure, pastel gradients work best with creamy (not streaky) formulas. Brands like Essie and OPI have excellent pastel collections.
Troubleshooting: If the colors look muddy, clean the sponge between applications and let each layer dry slightly before blending.
3. Neon Gradient Nails
Want nails that scream Look at me? Neon gradient nails deliver high-impact color with an eye-catching fade. Imagine hot pink melting into electric orange or lime green blending into sunny yellow—perfect for summer, festivals, or a night out.
How to Nail the Look:
- Since neon polishes can be sheer, start with a white base to intensify the color.
- Use a small brush or sponge to blend the neon shades diagonally for a dynamic effect.
- Finish with a UV top coat for extra shine and durability.
Pro Tip: Neon polishes can stain nails, so always apply a protective base coat first.
Common Mistake: Overlapping wet neon polishes can cause patchiness. Work quickly, but let each layer set slightly before blending.
4. Glitter Fade Gradient
Who doesn’t love a little sparkle? A glitter gradient nail design starts with a solid base and fades into dazzling glitter at the tips. Black-to-silver, red-to-gold, or even clear-to-holographic—this style is endlessly customizable.
Tutorial:
- Paint nails with your base color and let them dry completely.
- Apply a thin layer of clear polish near the tips, then press glitter onto the wet polish using a sponge or brush.
- Gently pat more glitter toward the tips for a concentrated fade.
Expert Advice: Nailpro Magazine recommends using fine glitter for a smoother transition and chunky glitter for dramatic texture.
Troubleshooting: If glitter spills onto unwanted areas, use a sticky tape or a cleanup brush dipped in acetone for precision.
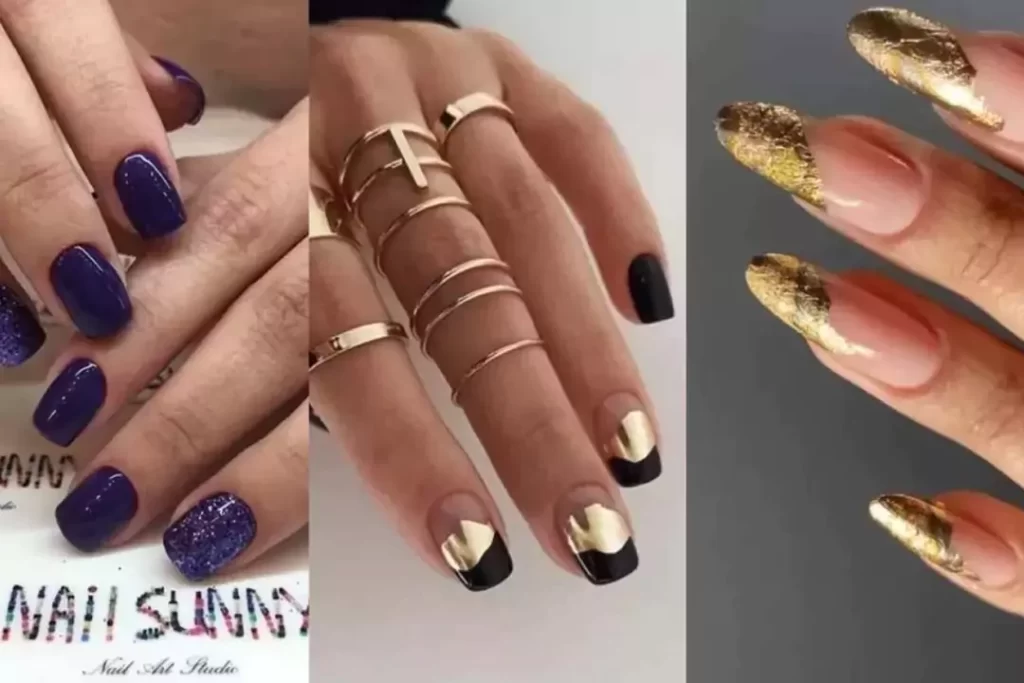
5. Metallic Ombre Nails
For a high-end manicure, metallic gradient nails add instant glam. Rose gold fading into copper or silver melting into gunmetal gray creates a luxe effect ideal for parties, holidays, or bridal looks.
Steps to Perfection:
- Metallic polishes can be streaky, so apply thin coats.
- Use a fan brush for a more controlled blend than a sponge.
- Seal with a high-shine top coat to enhance the metallic finish.
Pro Tip: For a molten metal effect, try chrome powder over a gradient base.
Common Mistake: Over-blending can dull the metallic shine. Less is more—let the polish’s natural shimmer do the work.
6. Sunset-Inspired Gradient
Bring the beauty of a sunset to your fingertips with warm hues like coral, peach, and gold. This sunset gradient nail design is perfect for beach vacations or adding a pop of warmth to your look.
How to Create It:
- Start with the lightest shade (yellow or peach) at the cuticle.
- Blend upward into orange, then deep pink or red at the tips.
- A small eyeshadow brush can help smooth harsh lines.
Expert Insight: Celebrity nail artist Mimi D suggests using a wet-on-wet technique for smoother blends in multi-color gradients.
Troubleshooting: If colors bleed, let each layer dry slightly before adding the next.
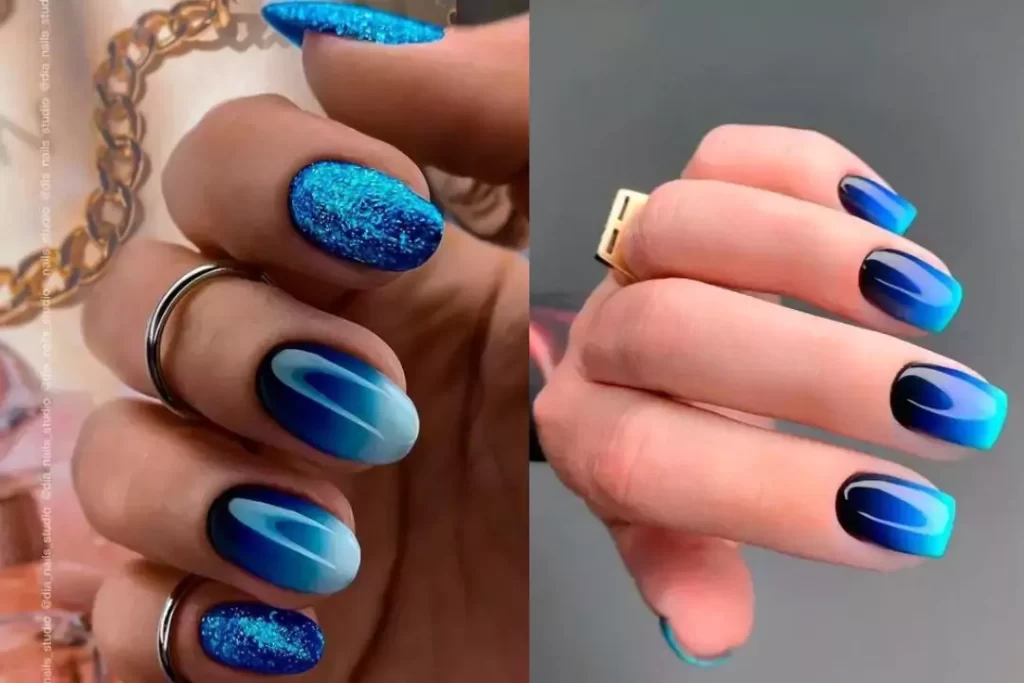
7. Galaxy Gradient Nails
Dark, shimmery blues, purples, and blacks with scattered glitter mimic a starry night sky. Galaxy gradient nails are perfect for those who love a moody, mystical aesthetic.
Step-by-Step:
- Start with a black or navy base.
- Dab on lighter shades (purple, blue, silver) with a sponge for a nebula effect.
- Add tiny white dots with a toothpick for “stars.”
Pro Tip: A holographic top coat enhances the cosmic illusion.
Common Mistake: Overloading the sponge can make the design look muddy. Build colors gradually.
8. French Tip Gradient
A gradient French manicure softens the classic look by fading the tip color into the base. Try nude-to-white, blush-to-clear, or even unconventional shades like mint-to-gray.
Tutorial:
- Paint nails with a sheer or nude base.
- Use a thin brush to apply white polish at the tips, then blend downward with a clean brush dipped in acetone.
Expert Tip: Byrdie recommends using gel polish for a longer-lasting French gradient.
Troubleshooting: If the fade looks uneven, lightly buff the area with a nail buffer before reapplying.
9. Rainbow Gradient Nails
Why choose one color when you can have them all? Rainbow gradient nails feature a bold mix of hues (red, yellow, green, blue) blended diagonally or horizontally.
How to Do It:
- Use a thin brush to paint each color side by side, then blend the edges with a sponge.
- Keep the colors vibrant by not over-blending.
Pro Tip: Tape off sections of the nail for clean lines if freehand blending is tricky.
Common Mistake: Too many colors can look chaotic. Stick to 3-4 shades for a balanced look.
10. Black to Red Vampy Gradient
A black-to-red gradient oozes drama and sophistication, perfect for fall, gothic styles, or a night out. The deep fade creates a striking, almost blood-like effect.
Steps:
- Start with a black base.
- Blend red polish from the tips downward using a sponge.
- Matte top coat intensifies the moody vibe.
Expert Advice: Nail Artistry Magazine suggests adding a thin line of gold foil between the colors for extra edge.
Troubleshooting: If the red looks too sheer, layer it over a dark burgundy first.
Final Thoughts: Mastering Gradient Nails
Gradient nails are a fantastic way to experiment with color, texture, and creativity. Whether you prefer soft pastels, bold neons, or moody dark blends, there’s a gradient style for every mood and occasion.
Key Takeaways:
- Prep is crucial – Always start with a clean, smooth base.
- Less is more – Build colors gradually to avoid streaks.
- Top coat is your best friend – It seals the design and enhances shine.
Now it’s your turn! Which gradient style will you try first? Share your creations online and tag us—we’d love to see your nail art journey!